自定义边
就像 自定义节点,React Flow 中自定义边的部分也仅仅是 React 组件:这意味着你可以在边上渲染任何你想要的东西!本指南向你展示了如何实现一个带有额外控件的自定义边。
一个基本的自定义边
如果边不能在两个连接的节点之间渲染路径,它对我们就没什么用。这些路径始终基于 SVG,通常使用 <BaseEdge /> 组件渲染。为了计算要渲染的实际 SVG 路径,React Flow 提供了一些方便的实用函数
为了开始我们的自定义边,我们只渲染源节点和目标节点之间的直线路径。
import { BaseEdge, getStraightPath } from '@xyflow/react';

export default function CustomEdge({ id, sourceX, sourceY, targetX, targetY }) {
  const [edgePath] = getStraightPath({
    sourceX,
    sourceY,
    targetX,
    targetY,
  });

  return (
    <>
      <BaseEdge id={id} path={edgePath} />
    </>
  );
}
传递给自定义边组件的所有属性可以在 API 参考中找到 EdgeProps 类型下。
这给了我们一个与默认的 "straight" 边类型 行为相同的直线边。为了使用它,我们还需要更新 <ReactFlow /> 组件上的 edgeTypes 属性。
在组件外部定义 edgeTypes 对象或使用 React 的 useMemo 钩子以防止不必要的重新渲染非常重要。如果你忘记这样做,React Flow 会在控制台中显示警告。
import ReactFlow from '@xyflow/react'
import CustomEdge from './CustomEdge'


const edgeTypes = {
  'custom-edge': CustomEdge
}

export function Flow() {
  return <ReactFlow edgeTypes={edgeTypes} ... />
}
在定义 edgeTypes 对象后,我们可以通过将边的 type 字段设置为 "custom-edge" 来使用新的自定义边。
添加边标签
自定义边的最常见用途之一是在边的路径上渲染一些控件或信息。在 React Flow 中,我们称之为边标签,与边路径不同,边标签可以是任何 React 组件!
为了渲染自定义边标签,我们必须将其包装在 <EdgeLabelRenderer /> 组件中。这样做是为了性能原因:边标签渲染器是一个门户,指向一个所有边标签都渲染到其中的单个容器。
让我们在自定义边上添加一个按钮,可以用来删除它所连接的边
import {
  BaseEdge,
  EdgeLabelRenderer,
  getStraightPath,
  useReactFlow,
} from '@xyflow/react';

export default function CustomEdge({ id, sourceX, sourceY, targetX, targetY }) {
  const { setEdges } = useReactFlow();
  const [edgePath] = getStraightPath({
    sourceX,
    sourceY,
    targetX,
    targetY,
  });

  return (
    <>
      <BaseEdge id={id} path={edgePath} />
      <EdgeLabelRenderer>
        <button
          onClick={() => setEdges((edges) => edges.filter((e) => e.id !== id))}
        >
          delete
        </button>
      </EdgeLabelRenderer>
    </>
  );
}
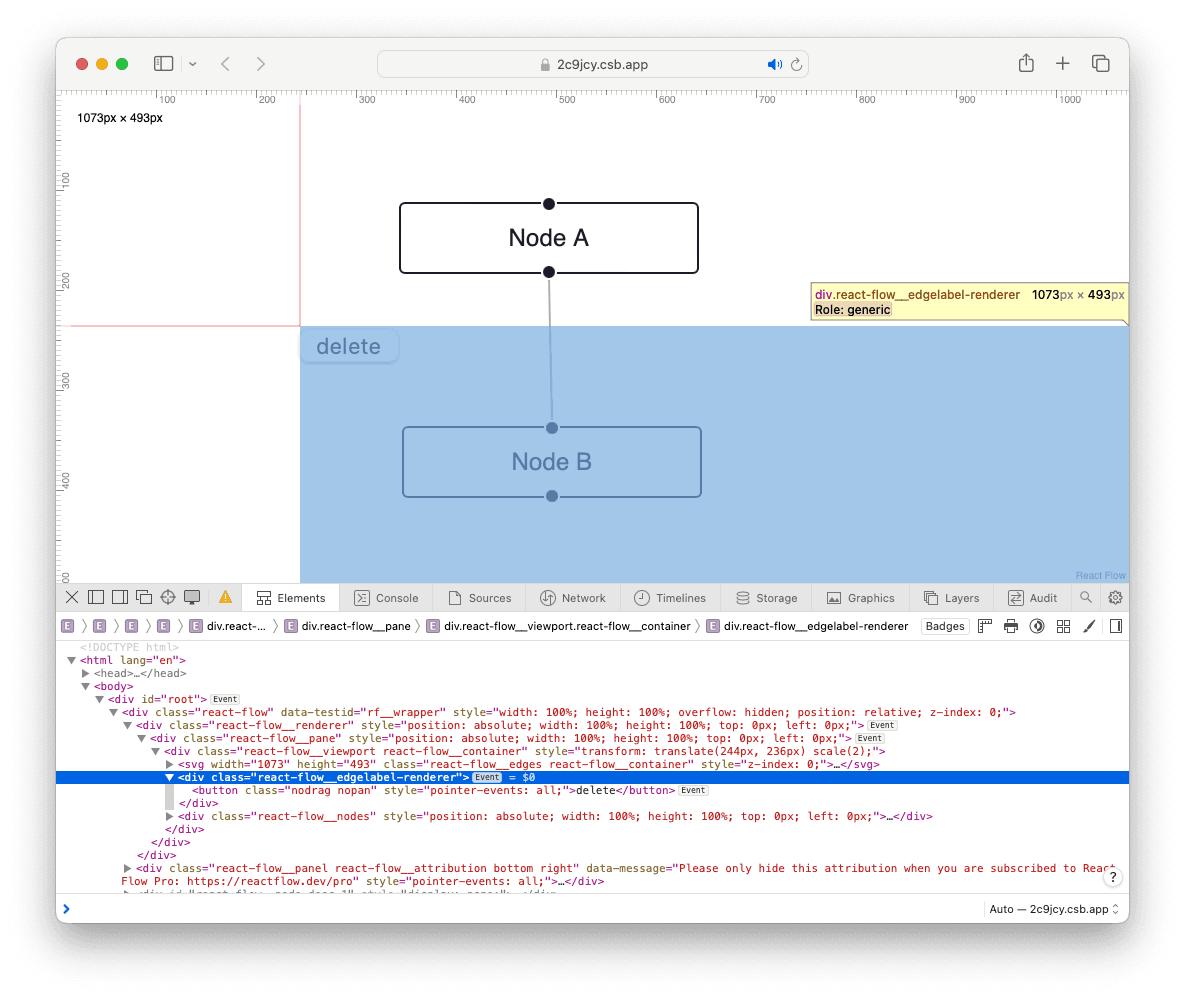
如果我们现在尝试使用这条边,我们会看到按钮被渲染在流程的中心(它可能被“节点 A”隐藏)。由于边标签门户的存在,我们需要做一些额外的工作来自己定位按钮。

幸运的是,我们已经见过的路径工具可以帮助我们!除了要渲染的 SVG 路径之外,这些函数还返回路径中点的 x 和 y 坐标。然后,我们可以使用这些坐标将自定义边标签转换为正确的定位!
export default function CustomEdge({ id, sourceX, sourceY, targetX, targetY }) {
  const { setEdges } = useReactFlow();
  const [edgePath, labelX, labelY] = getStraightPath({ ... });

  return (
    ...
        <button
          style={{
            position: 'absolute',
            transform: `translate(-50%, -50%) translate(${labelX}px, ${labelY}px)`,
            pointerEvents: 'all',
          }}
          className="nodrag nopan"
          onClick={() => {
            setEdges((es) => es.filter((e) => e.id !== id));
          }}
        >
    ...
  );
}
为了确保我们的边标签具有交互性,而不仅仅是为了展示,给标签的样式添加 pointer-events: all 非常重要。这样可以确保标签是可点击的。
就像自定义节点中的交互控件一样,我们需要记住将 nodrag 和 nopan 类添加到标签中,以阻止鼠标事件控制画布。
这是一个使用更新后的自定义边的交互示例。点击删除按钮会从流程中移除该边。创建新边会使用自定义节点。